
Part 1: Getting started
As new Valohai users get acquainted with the platform, many fall in love our web-based UI - and for good reason. Its responsive, intuitive and gets the job done with just a few clicks. But don’t be fooled into thinking that’s the end of the interface conversation. We know it takes different [key]strokes for different folks, so Valohai also includes a command-line interface (CLI) and the REST API.
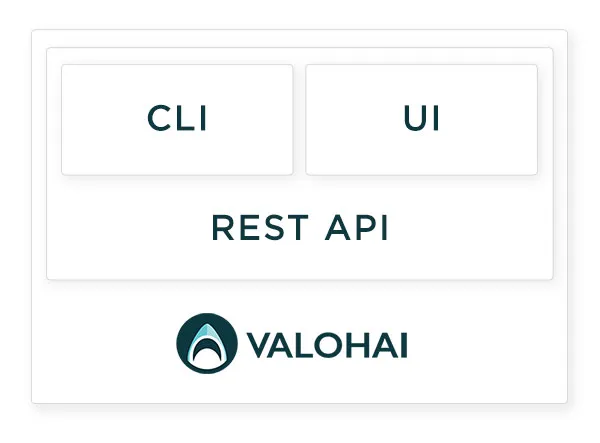
While you can access most Valohai features through any of its interfaces, each excels at different user needs to fine-tune and tweak their experiments. The web UI provides a gentle learning curve that’s easy to use “out of the box,” the CLI gives more explicit control and scripting, while the REST API provides full platform control (but it takes a bit more effort to do that, of course).
Note: The Valohai CLI is 100% open-source and available here on GitHub.
Tip: If you wish to use the REST API, you can use the valohai-cli repository as an example of how to use the API.
Prerequisites
- Mac OSX or Linux
- Python 3.4+
Installation
- First, let’s check to make sure you’ve got the right version Python (3.4+) installed. ( Need to update? )
python --version
2) Then we will install the Valohai CLI, using pip. While not required, we highly recommend using a virtualenv .
pip3 install valohai-cli
3) Finally we can verify the installation with:
vh --help
Config.json
Locally, CLI commands either change your active folder or the global config.json file. By default, it’s located in:
- Linux:
~/.config/valohai-cli/config.json - Mac:
~/Library/Application Support/valohai-cli/config.json
Set the environment variable VALOHAI_CONFIG_DIR if you prefer a custom location.
Login
Before we can start communicating the Valohai platform, we need to authenticate. Login is only required once. The authorization token is stored in config.json and works as long as you don’t logout or delete it manually.
vh login
You are asked for your username and password. Alternatively you can also provide them as parameters --username TEXT and --password TEXT.
Note that you can get help for any specific command by using --help . For example:
vh login --help
Project
At Valohai’s core is a concept of collaborative synergy of multiple users, each with assorted projects running numerous executions. We’ve already defined our user by authenticating with vh login . Now it’s time to create a new project to operate in.
There are two ways to approach this. The easier one is to use the interactive project creation with vh init . The more advanced option is to use the vh project command. We will go with the latter, as it gives us more insight.
mkdir myproject
cd myproject
vh project create --name myproject
Congratulations! We did it.
- You now have a
myprojectfolder to act as your local playground - A new project
myprojectwas created in the Valohai cloud - The local folder is linked to the cloud project via
config.json
In other words, when you execute any vh command in the myproject folder, the CLI will know which Valohai project the command will apply to. You can also use vh project link and vh project unlink for explicit control.
Valohai.yaml
The valohai.yaml needs to exist in order to run executions, so let’s create a very simple one in our local folder.
cat > valohai.yaml
- step:
  name: mytest
  image: python:3.6
  command: python test.py
This example valohai.yaml file describes a step called mytest using a Docker image python:3.6 (hosted at DockerHub), which will execute a python script test.py . To learn more about the valohai.yaml, check out this page .
Test.py
Finally we need some Python code to be executed so let’s create our test.py file.
cat > test.py
import sys
print('Hello!')
First execution
The time has come to execute!
Execution means instantiating a Docker container in the cloud, fetching additional scripts & data, running them and storing the outputs. This is how to do it from the Valohai CLI:
vh execution run --adhoc mytest
The --adhoc flag means that instead of valohai fetching our scripts from a Git repository, we will use the files in our local folder.
The mytest in the command refers to the specific step in the valohai.yaml file we want to execute.
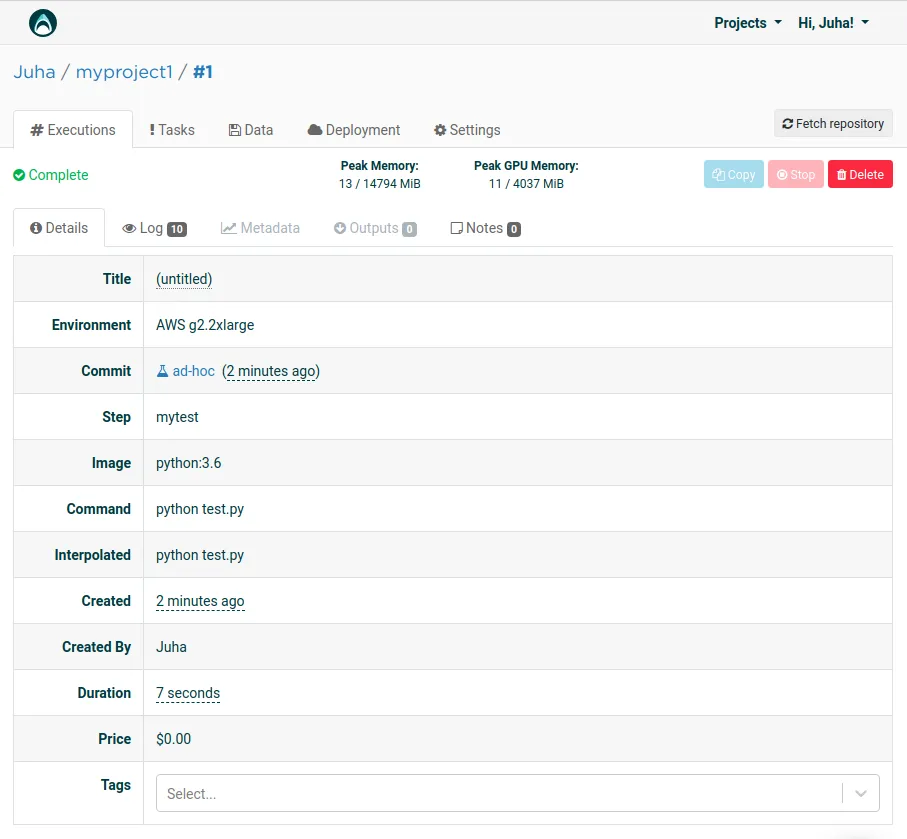
Once executed, Valohai will print out a URL into your standard out. If you open the URL printed out by the CLI in the browser, you should see something like this:
If you prefer to stay in the CLI, you can also use the --watch flag to get the log output straight into your terminal.
That’s it!
Stay tuned: In the next part of this article series, I’ll dive deeper into different commands and parameters provided by the CLI and show you how to get the most out of them.
Forget something you read here? Do you find text-based instructions obsolete? Do you prefer finer things in life like brandy and cigars? Well, well, our little Aristocrat; here’s the entire tutorial in a video session:
To learn how to run Ad Hoc executions, fine-tune hyperparameters and manage inputs via Valohai CLI, read the Part 2: CLI Tips and Tricks .