Production-grade machine-learning algorithms never come out perfect on the first try. They require the same approach to iteration and testing as any other software project. But validating machine-learning algorithms is particularly hard—harder than writing simple unit or integration tests. And iterating on machine-learning algorithms gets harder as the team contributing to it grows.
Companies like Netflix, Google, and Amazon have designed special workflows to deal with this issue. They’ve built in-house tooling and created rules and procedures for testing and evaluating the algorithms their large teams are working on.
But most companies new to machine learning lack a well-designed ML workflow when they find themselves getting to their first ML projects, and they encounter a number of problems:
- The workflows lack structure and prevent teams from focusing on the right outcomes.
- The teams are often using general-purpose tools that are not designed for machine learning, making it harder to debug issues and to track changes across the process.
- These workflows usually require machines with GPU or TPU and lots of memory, and these machines can be hard and slow to provision in-house and require experts to maintain.
One of the tools companies use in trying to solve these problems is Azure Pipelines, a flexible CI/CD solution from Microsoft. With the proper configuration, it can help an ML team handle some of these challenges. However, Azure Pipelines on its own is still not an optimal solution, being a general-purpose tool that lacks ML-specific functionality.
Enter Valohai: an ML-oriented workflow tool that integrates with Azure Pipelines and fills in the gaps that Azure Pipelines leaves when handling machine-learning workflows.
In this article, we’ll walk you through how to use Valohai together with Azure Pipelines to optimize the ML development flow for your team. The flow we will be building is:
- A commit gets pushed to GitHub.
- Azure Pipelines starts a build for this commit.
- A Valohai execution gets triggered.
- Valohai creates a cloud instance and runs the ML training steps.
- Azure Pipelines receives the status of the Valohai execution.
- Based on the Azure Pipelines status, the team performs the analysis on the impact of the change to the code and makes a go / no go decision.
Prerequisites for following along
To follow along and set up this article’s example project, you’ll need the following:
- A free Valohai account—sign up at https://valohai.com
- An Azure DevOps project with Azure Pipelines activated.
- A clone or copy of the Valohai Tensorflow example project in your GitHub account or another git repository.
Once you have all that ready, we can dive into setting up the project.
Setting up Azure Pipelines with Valohai for machine-learning flows
We’ll start by configuring a Valohai project with various tasks for our example machine-learning model. Then we’ll configure a pipeline in Azure Pipelines that triggers tasks in Valohai based on what actions you perform in your code repository.
Creating a Valohai project
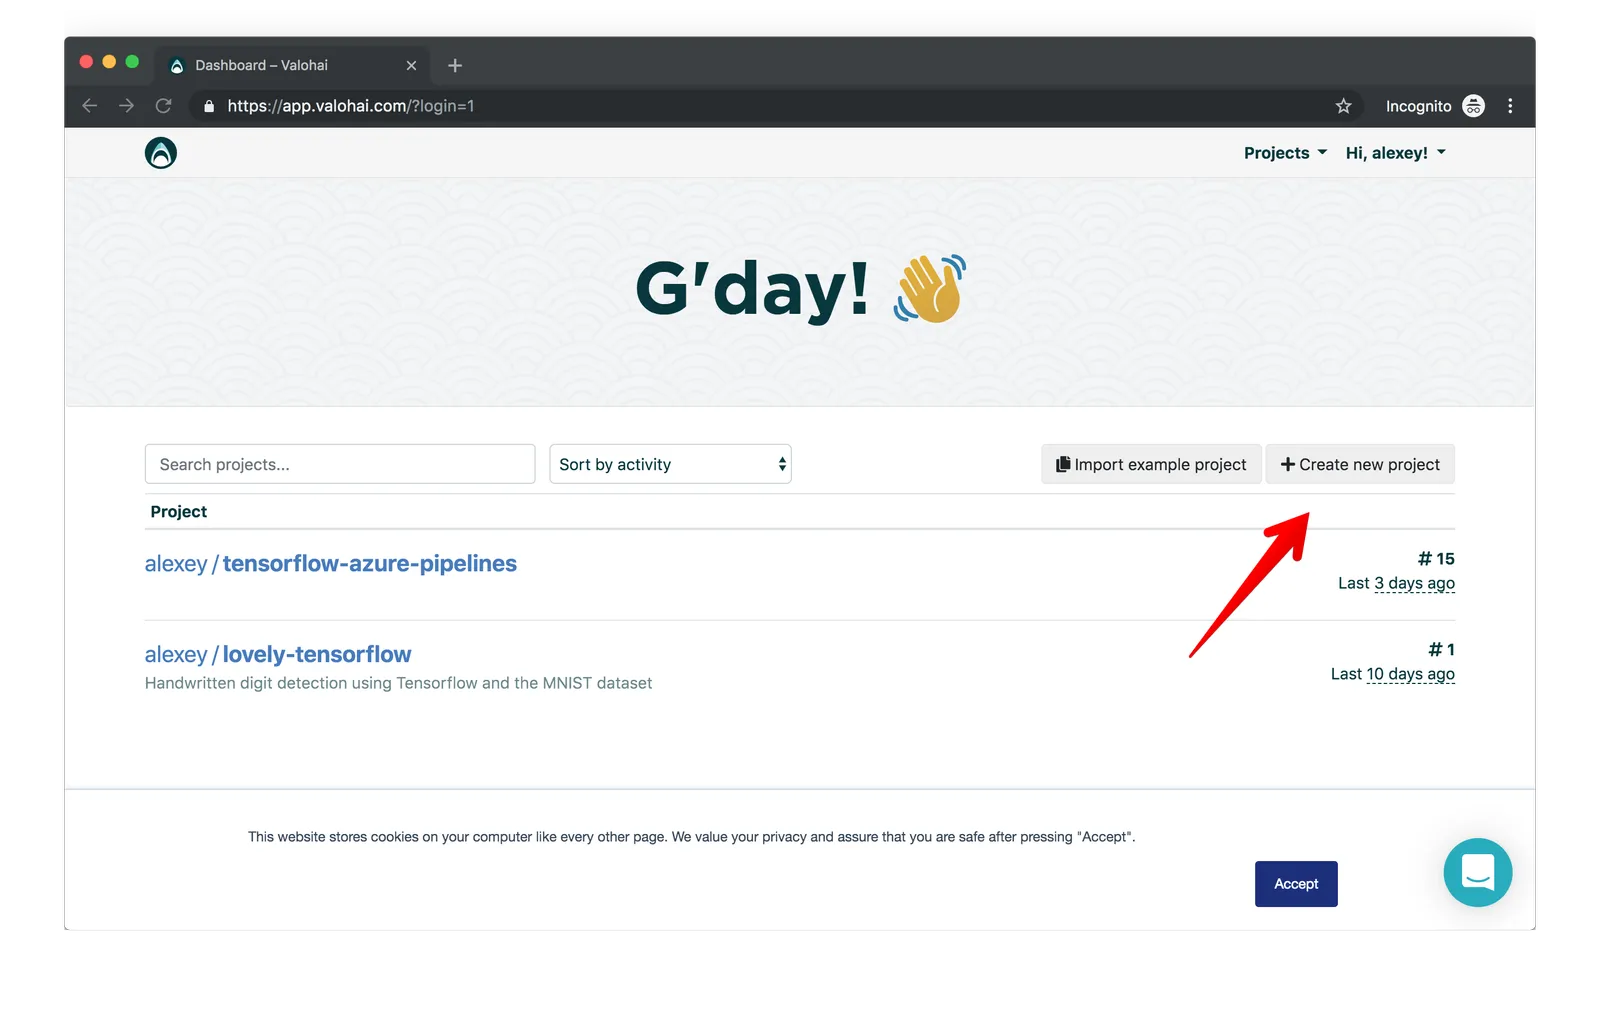
Once you sign into your Valohai account you can create a new project by clicking the corresponding button on the dashboard.
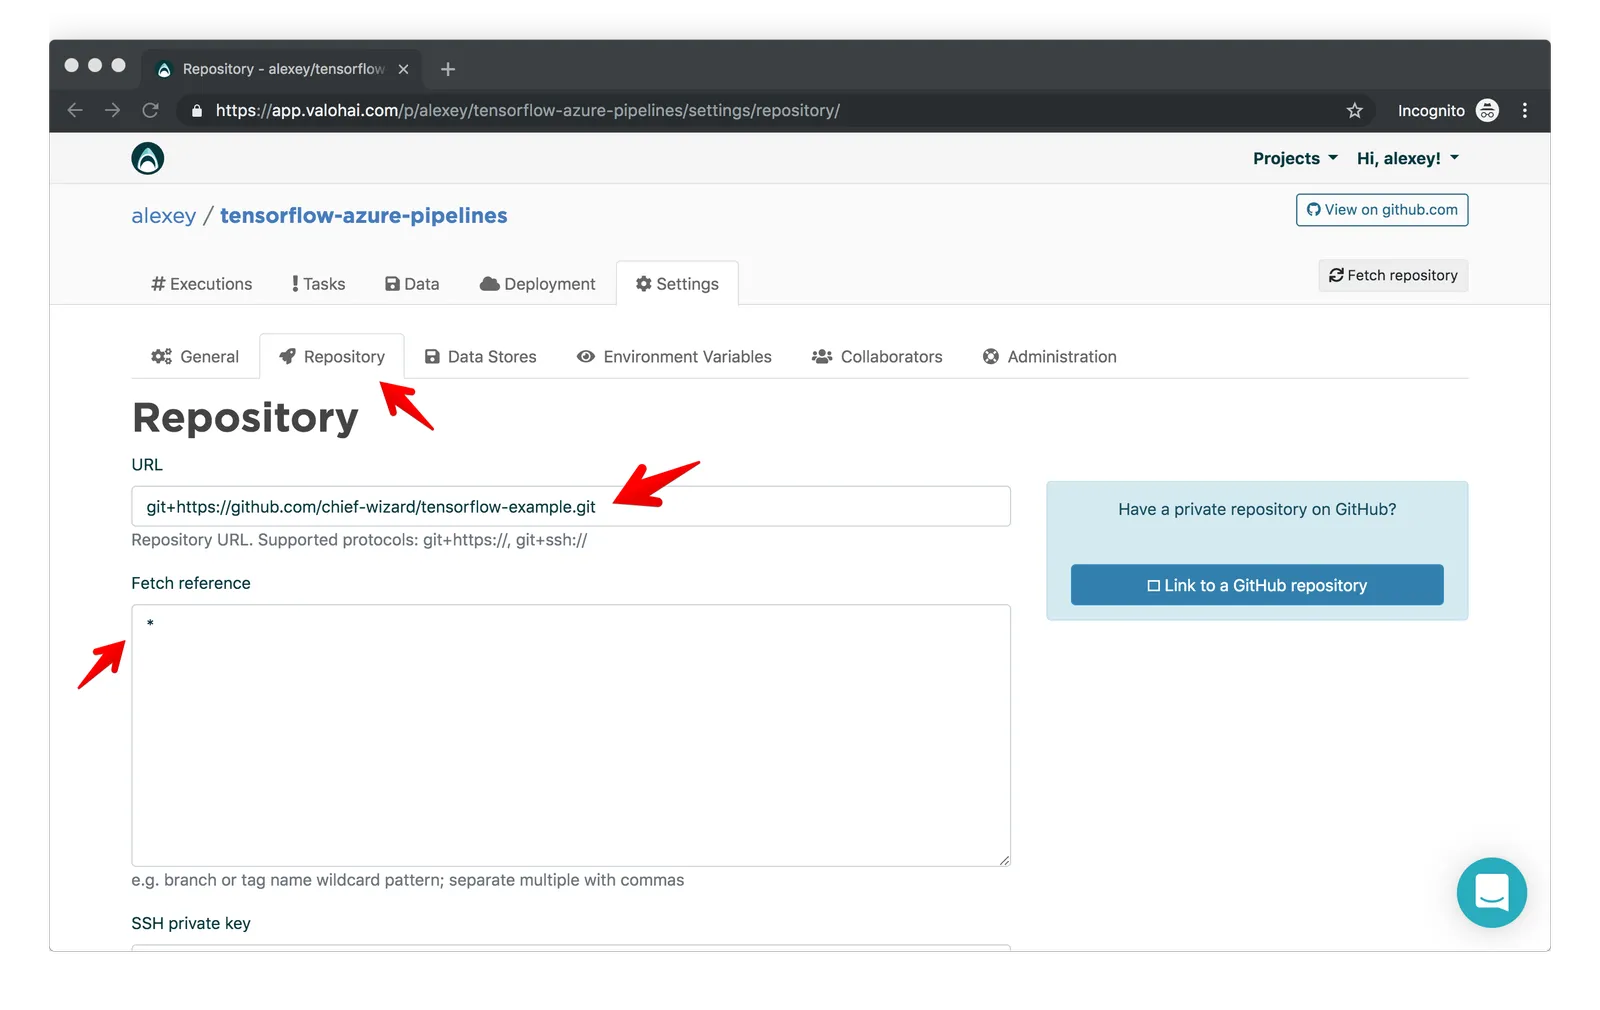
Next, go to Settings -> Repository and add the repository address (use HTTPS or git) to the URL field.
You’ll also need to add an asterisk ( * ) in the Fetch reference field so that Valohai fetches all the branches for your repo successfully:
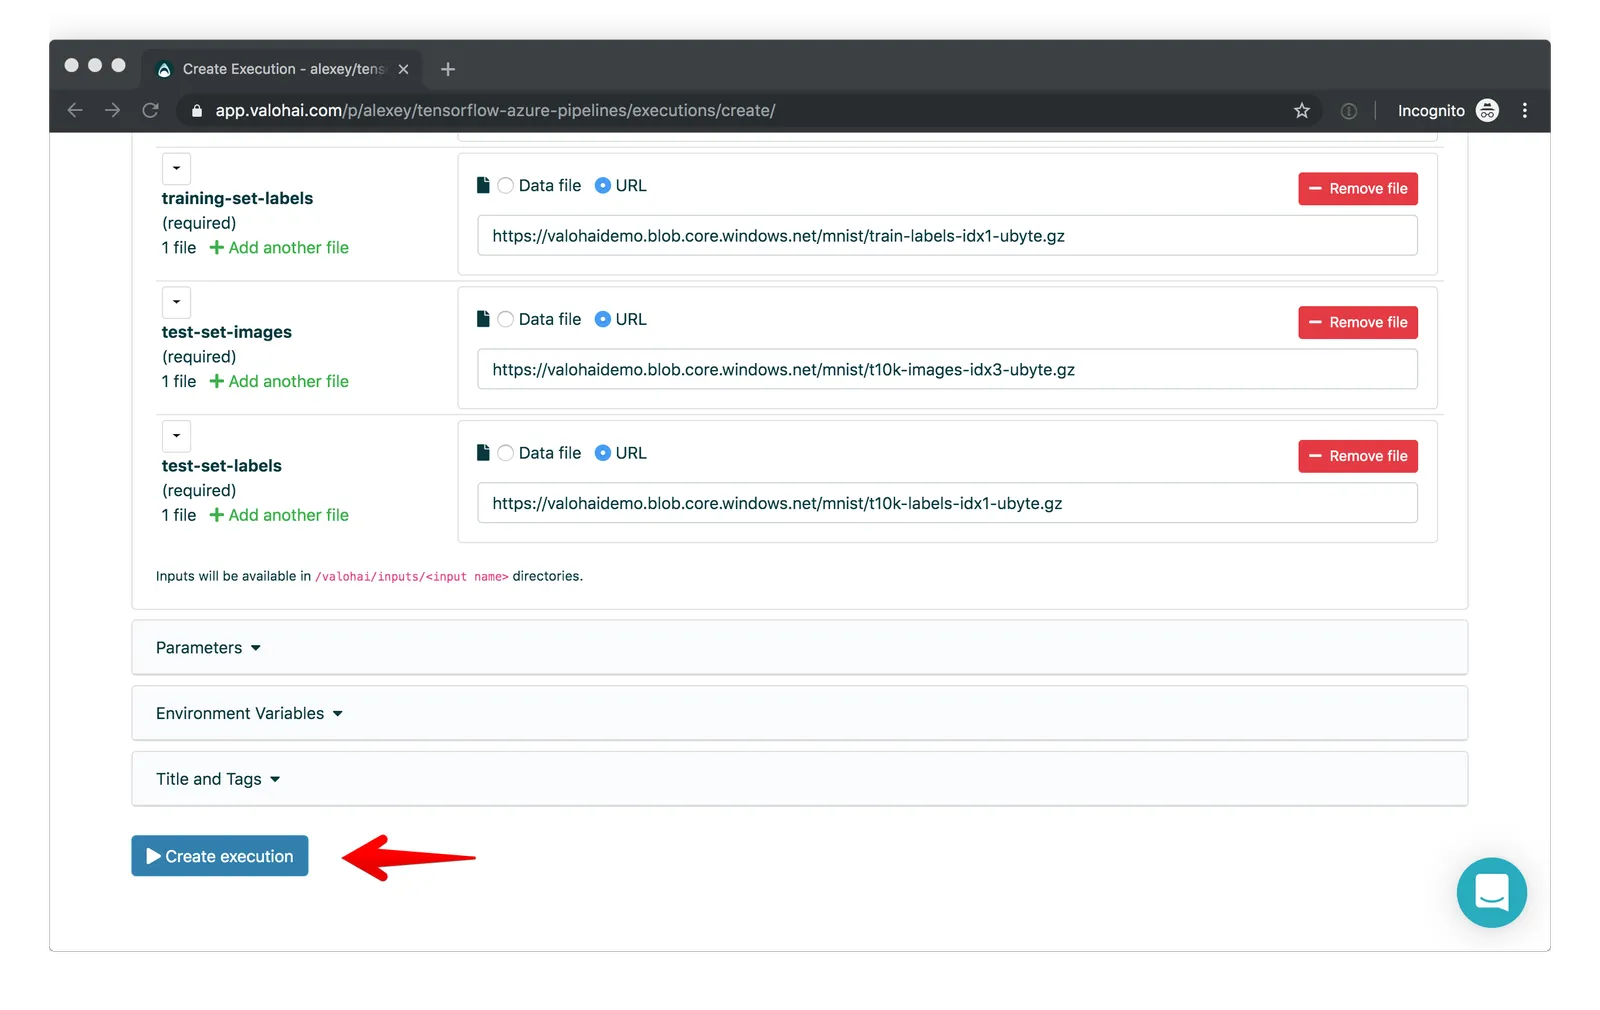
Once you have the git URL set up, create a new execution with the default settings.
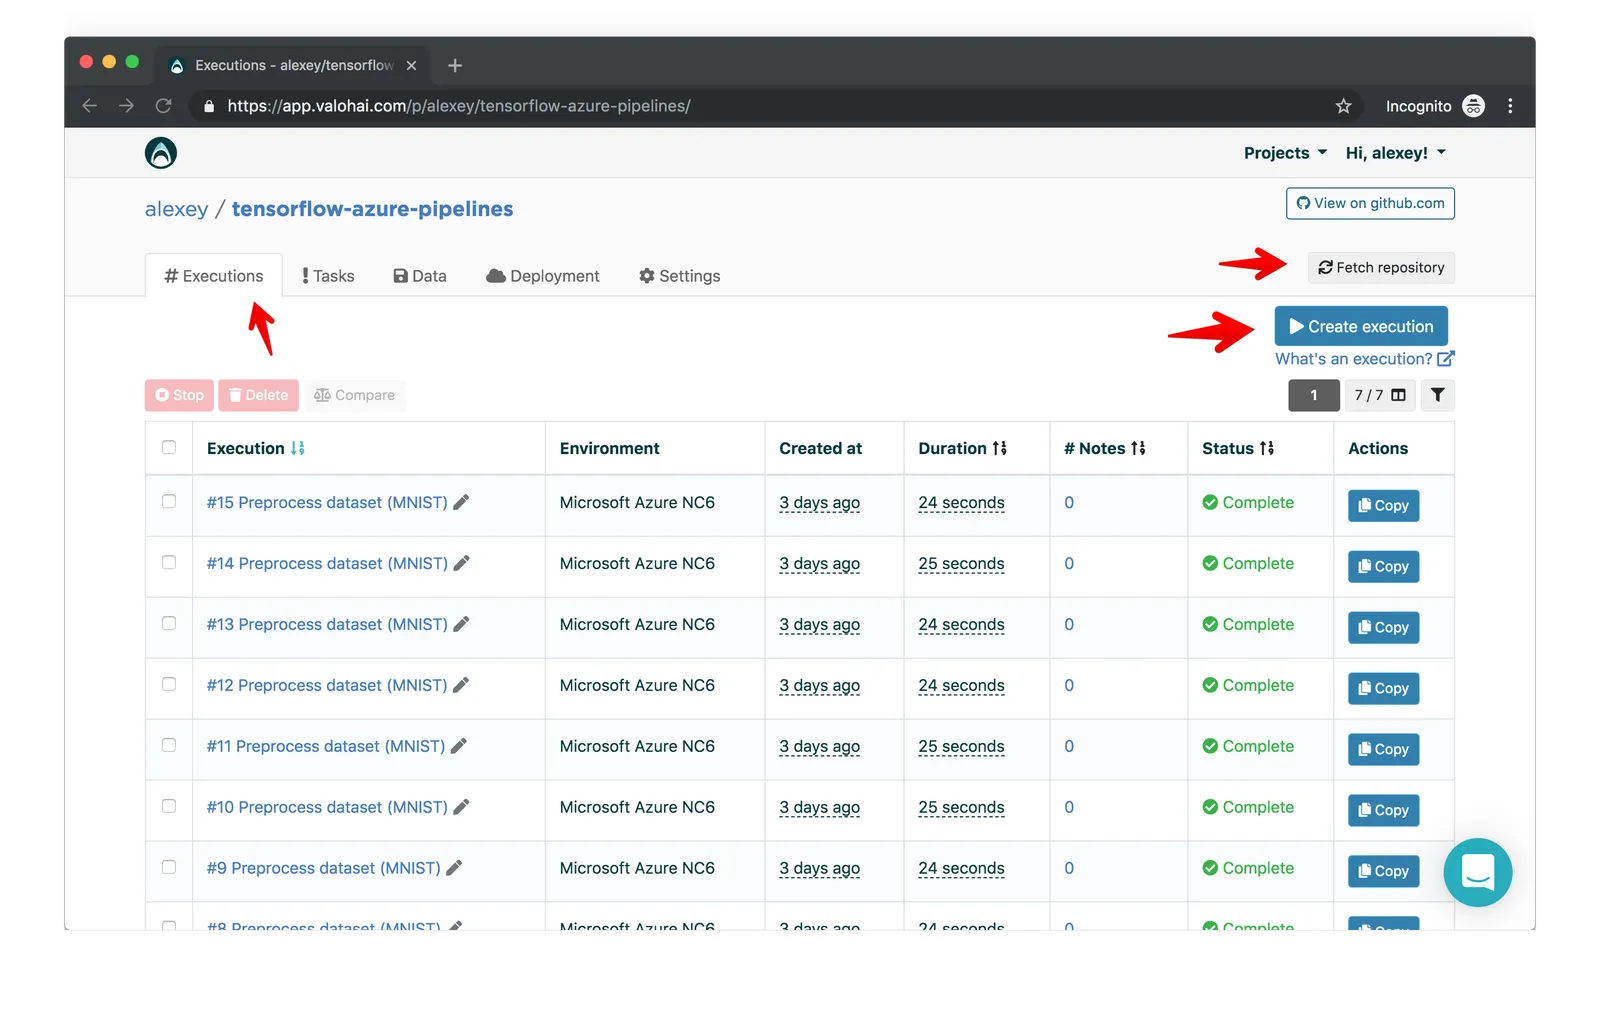
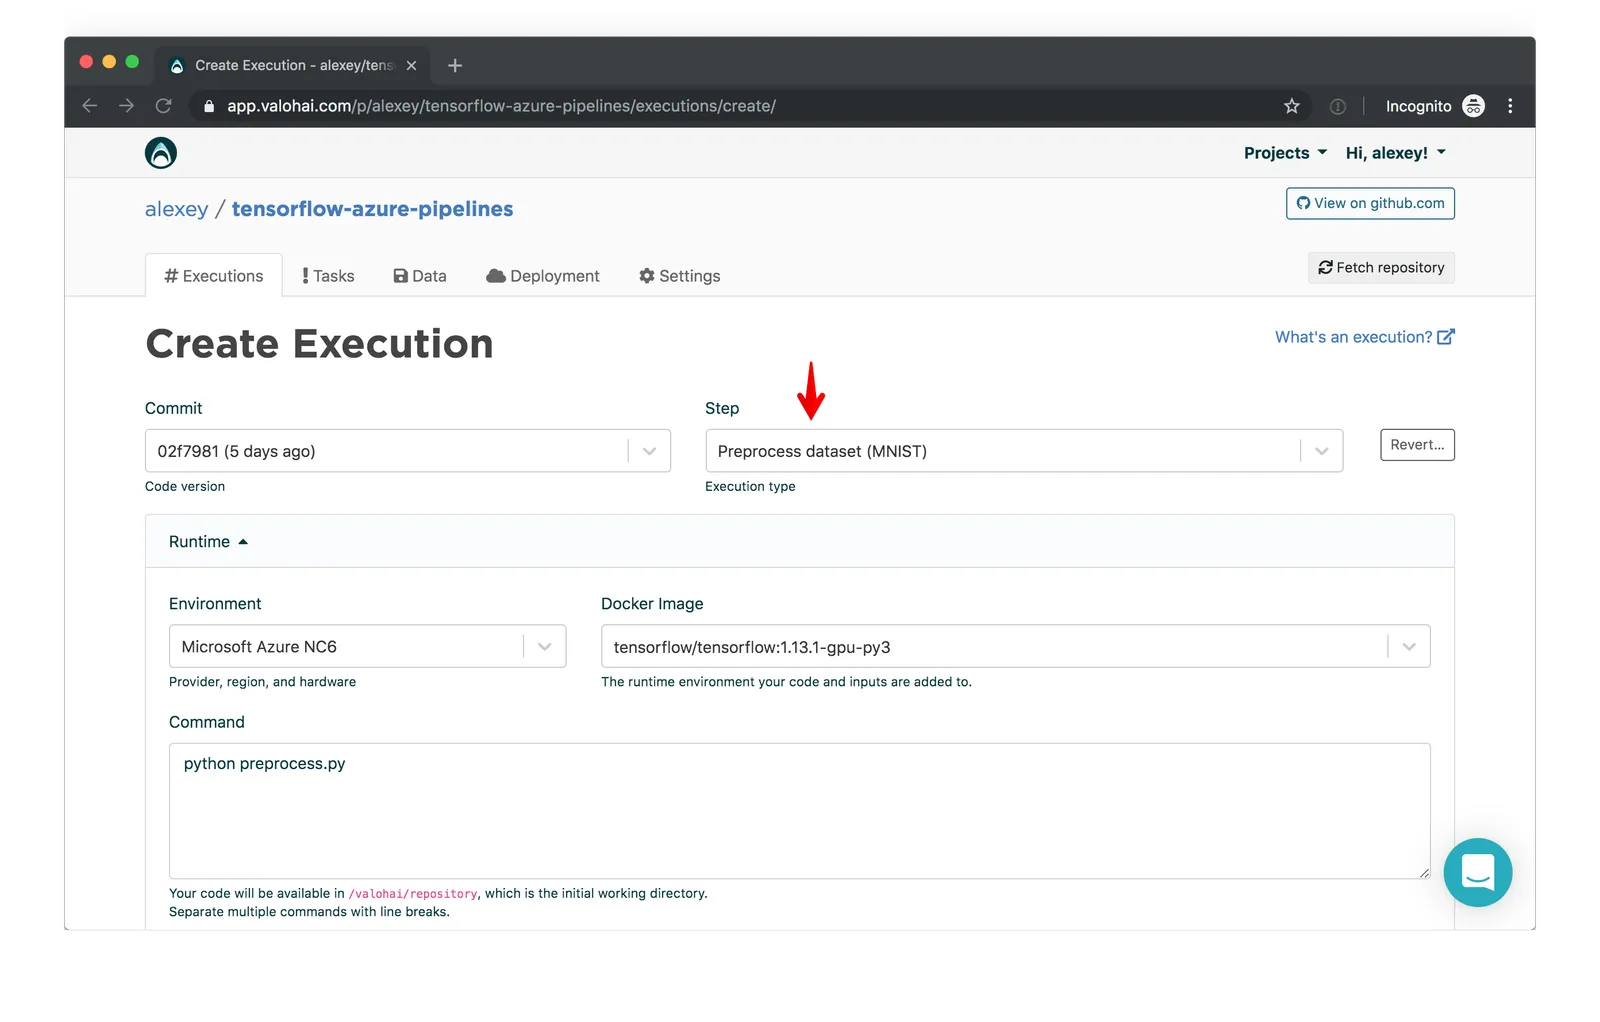
On the Create Execution page, the first step of our ML flow, “Preprocess dataset”, will be selected:
At the bottom of the page, click “Create execution:
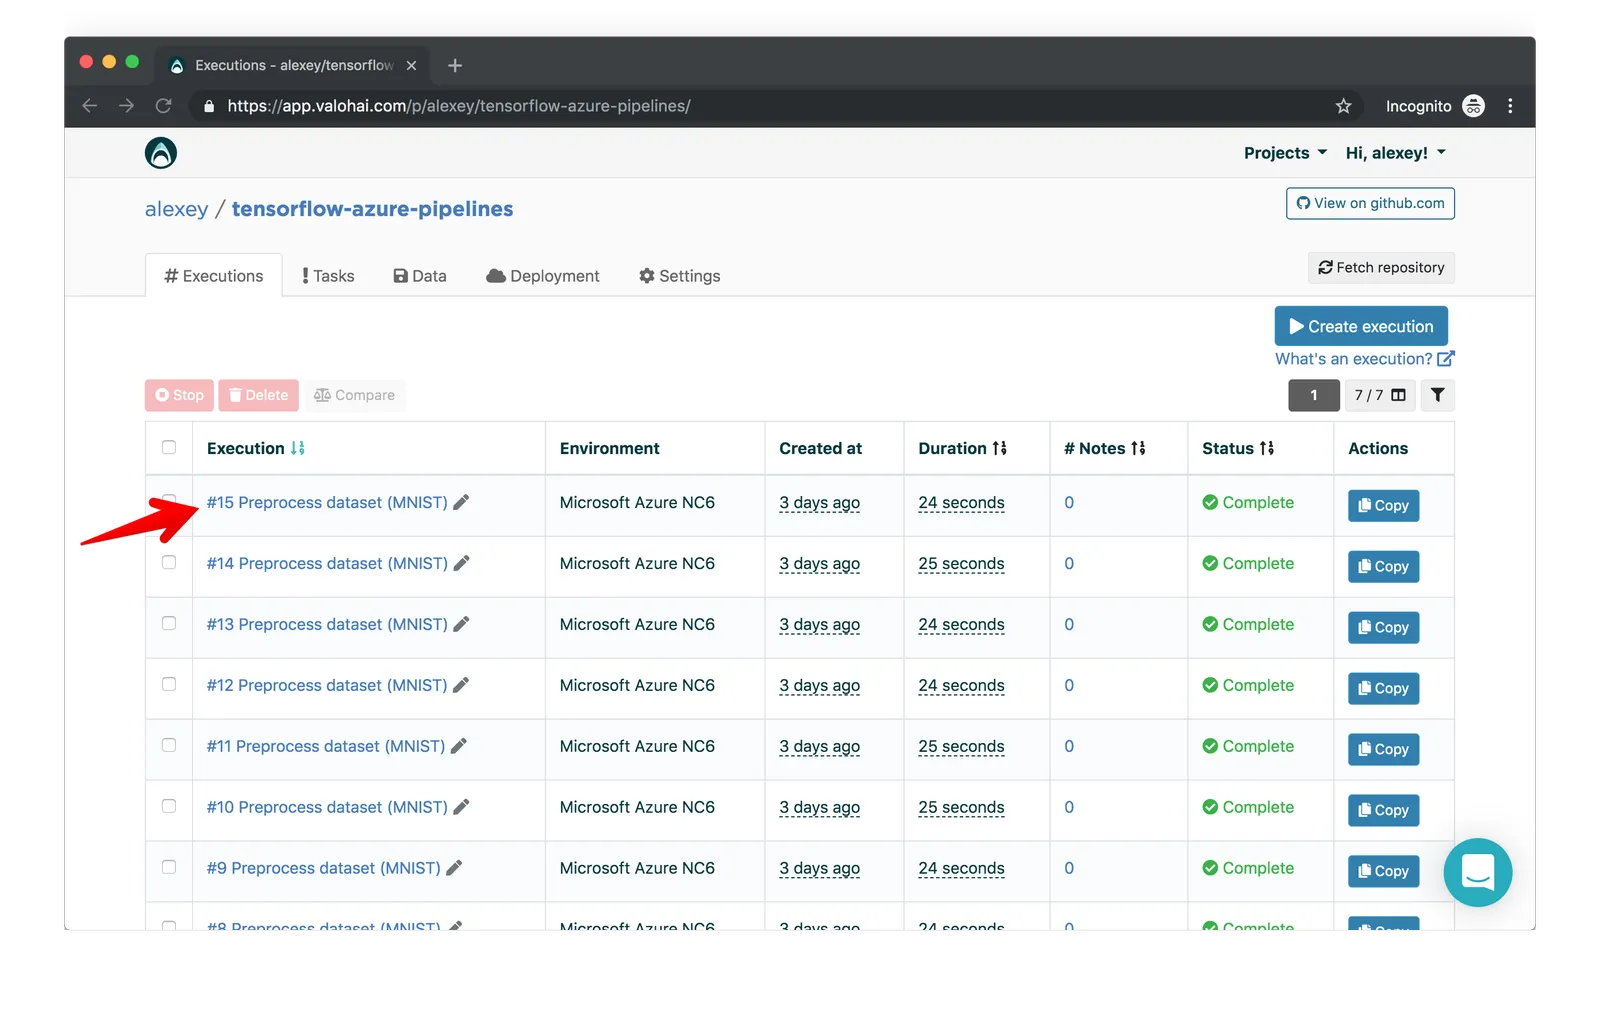
You’ll see that a new Valohai execution gets triggered and completes successfully.
Let’s take a look at what that execution actually did. On the Executions tab, click on a specific execution to see its details:
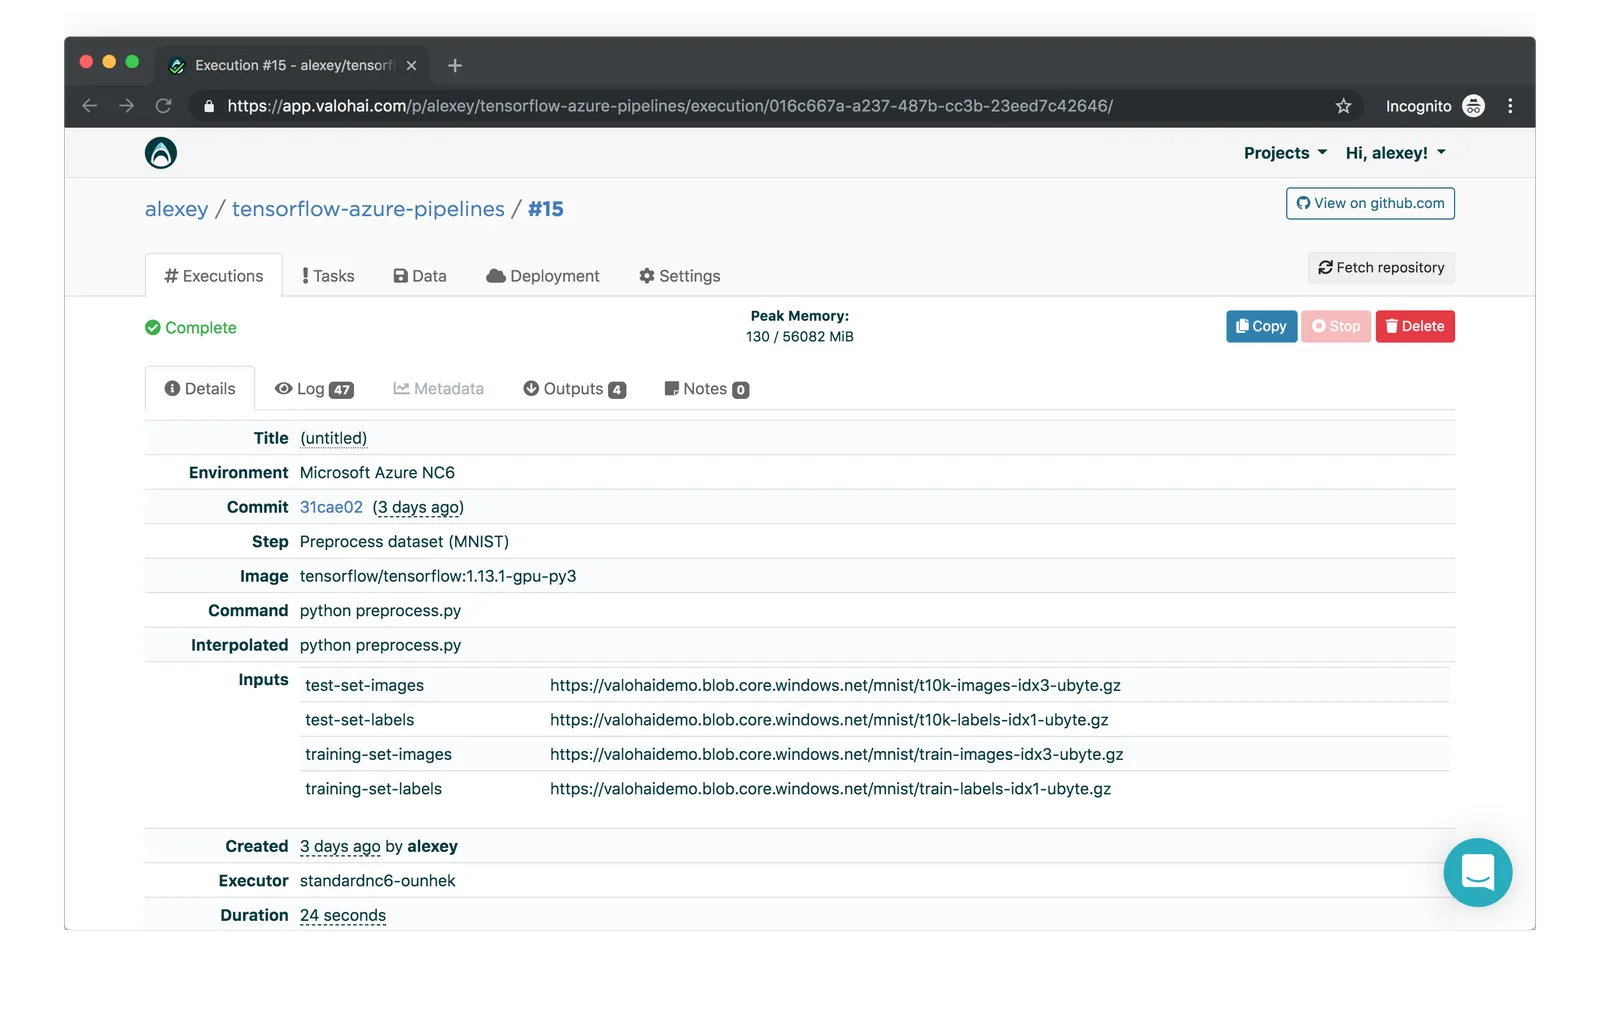
On the Execution page, you’ll see the commit from your GitHub account, the Docker image and the command that the execution used —
in this case, Valohai ran on the tensorflow/tensorflow:1.13.1-gpu-py3 Docker image, and python preprocess.py was the command executed.
Valohai also provided sample inputs. Let’s look at how all this is configured.
To view the Valohai configuration, we go to the GitHub repository
where we fetched the code and view the valohai.yaml file. (We can also go to the right revision on GitHub by clicking on the “Commit” field on the Execution details tab.)
The execution we ran was for Preprocess dataset (MNIST) , so we look at the relevant configuration block in the valohai.yaml file:
As you can see, the configuration here is quite simple: we provide the Docker container we want to use, a command to run in that container, and a set of inputs. When we trigger a new execution, Valohai spins up a cloud environment with the container that we specified and runs our command.
Other steps in our machine-learning workflow can employ more options. For example, the Train Model (MNIST) step has multiple parameters passed to the command that we execute in a container:
You can view our complete configuration example on GitHub.
Learn more about the valohai.yaml format and options in the Valohai documentation .
At this stage you might well ask, “What’s the value of configuring Valohai rather than simply using Azure Pipelines?” It’s a good question.
The Valohai configuration format is optimized for machine-learning tasks. All the details for each execution are available on the Execution page in Valohai; the data that matters most is available in just a few clicks. You can view the execution logs, easily download the output of each step, and leave notes on each execution.
Valohai also takes care of creating the right cloud environment, including making a GPU available and running the container with your ML tools pre-installed.
Now, let’s see how we can have Azure Pipelines trigger a new Valohai execution on every new commit to your machine-learning model.
Setting up a basic config on Azure Pipelines
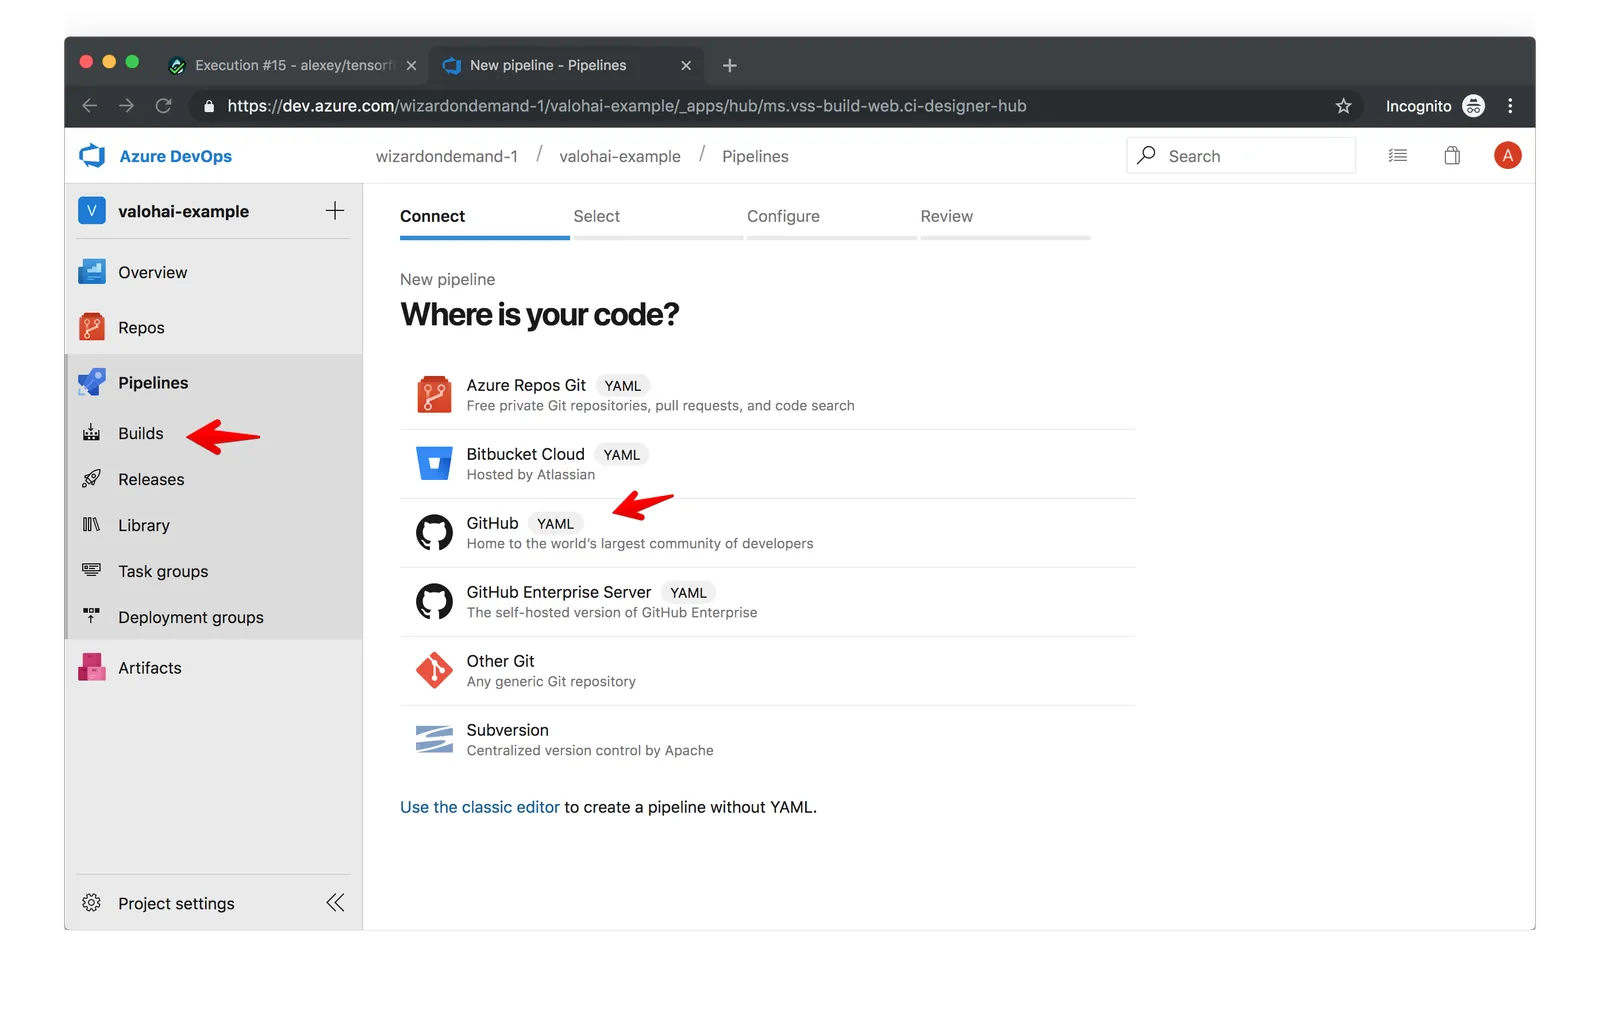
To get started with Azure Pipelines, we navigate to our Azure DevOps project and click through to Pipelines -> Builds. In that section we create a new GitHub pipeline for our Tensorflow repo that we just configured on Valohai.
Azure Pipelines requires us to specify the config in YAML format, the same format that Valohai uses, but naturally the Pipelines config has a different structure.
We start out by specifying a single build step containing a bash script that we then use to create Valohai executions:
We’ve chosen to run this config on Ubuntu in Azure Pipelines, but you can choose to use Windows or macOS if that works better for you.
Our only step is a bash script that we will later create in our repo. We’ll give it a descriptive name and pass a few variables to it:
- The git commit version: We will need this later in order to trigger the execution in Valohai with the right commit.
- The Valohai project ID: With this we can properly call the Valohai API.
- The Valohai API token: This allows us to authenticate with Valohai from our Azure Pipelines script.
With that, our initial Azure Pipelines config is complete. You can find the full file on GitHub .
See all available options for Azure Pipelines configurations in the description of the Azure DevOps YAML format .
Configuring the variables in Azure Pipelines
To successfully connect to Valohai from Azure Pipelines via the Valohai API, we need the ID for the project that we set up in Valohai and our API token.
We start with the Valohai API token, since we can then use it to get the project ID for our project.
To get the token we need to call the get-token API endpoint with our Valohai username and password. We do it using curl on the command line:
We receive our API token in the response:
We can now use this token to connect to the rest of the Valohai API. In the next step, we request a list of our Valohai projects to find the project ID for our Tensorflow example:
We receive a project list in response:
So, we’ve gotten the project ID we need to connect to the Valohai API. Now it’s time to add the API token and the project ID to the Azure Pipelines configuration and get our API calls working.
Adding the project variables to Azure Pipelines
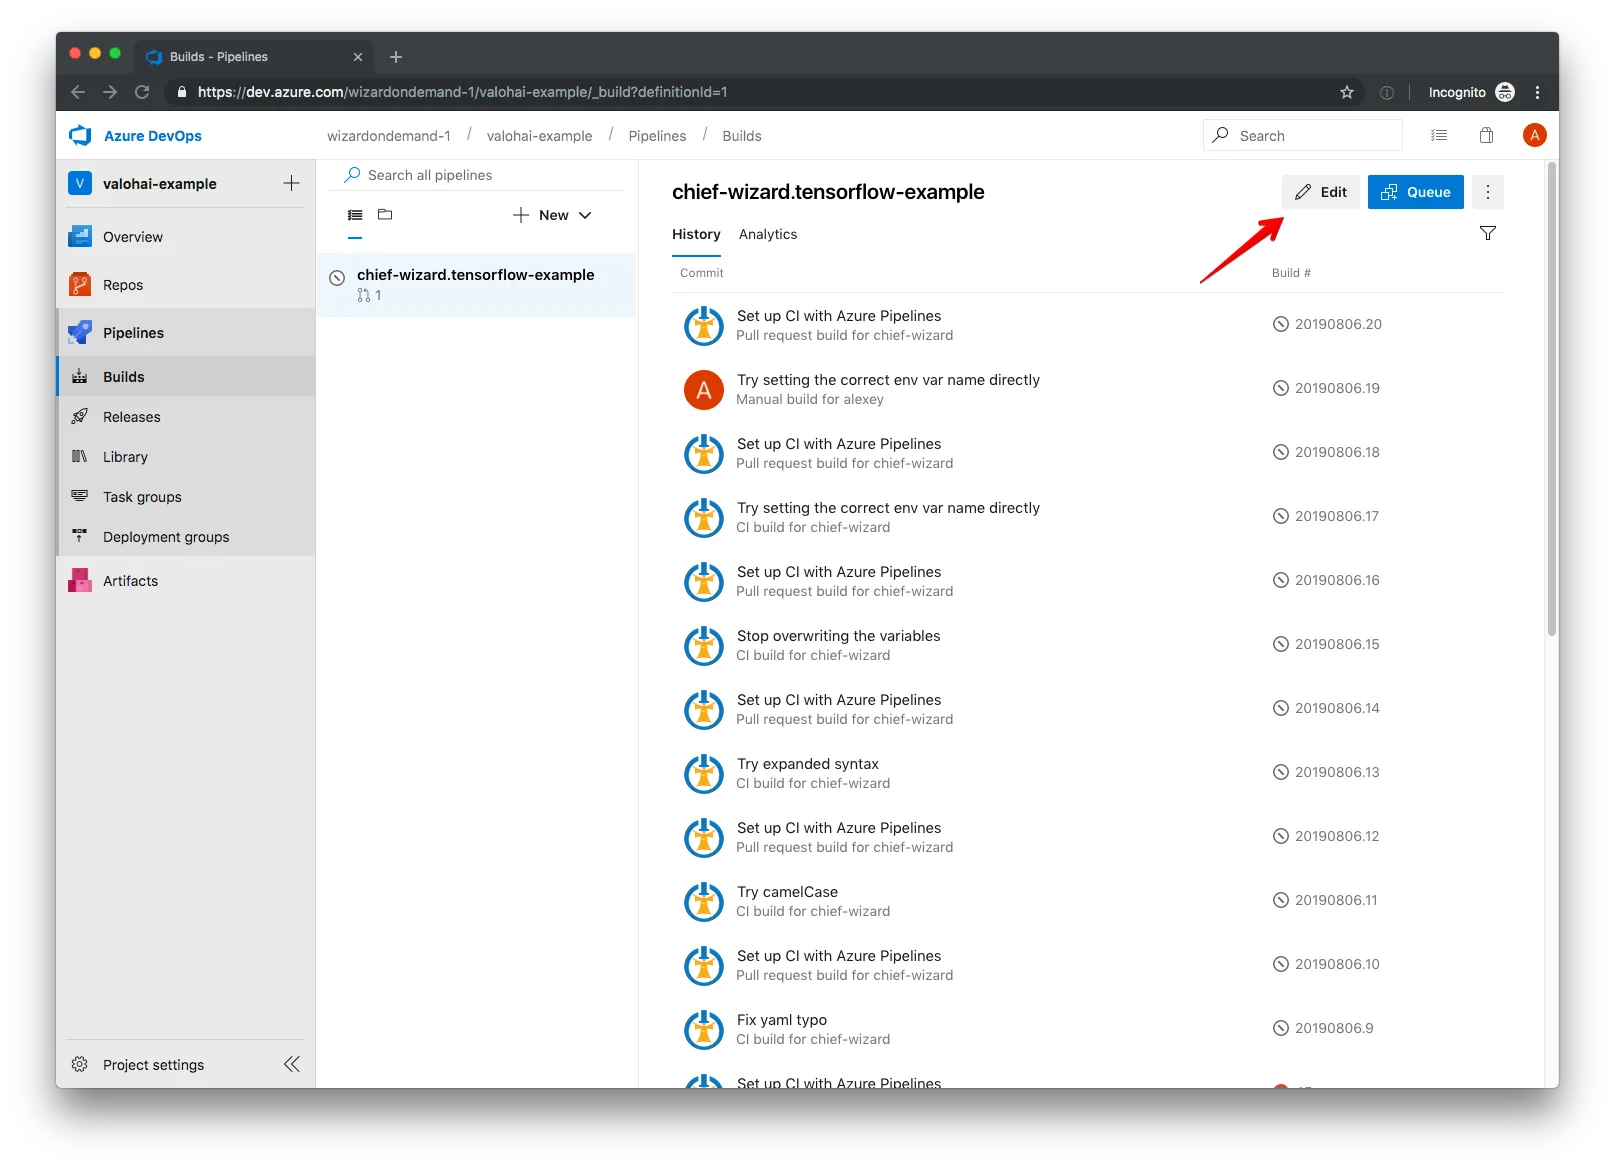
We add the API token and the project ID to our Azure Pipelines configuration via the Environment Variables section in the Azure Pipelines interface. To add an environment variable, we go to Pipelines -> Builds -> Edit.
In the Edit window, we navigate to the Variables menu.
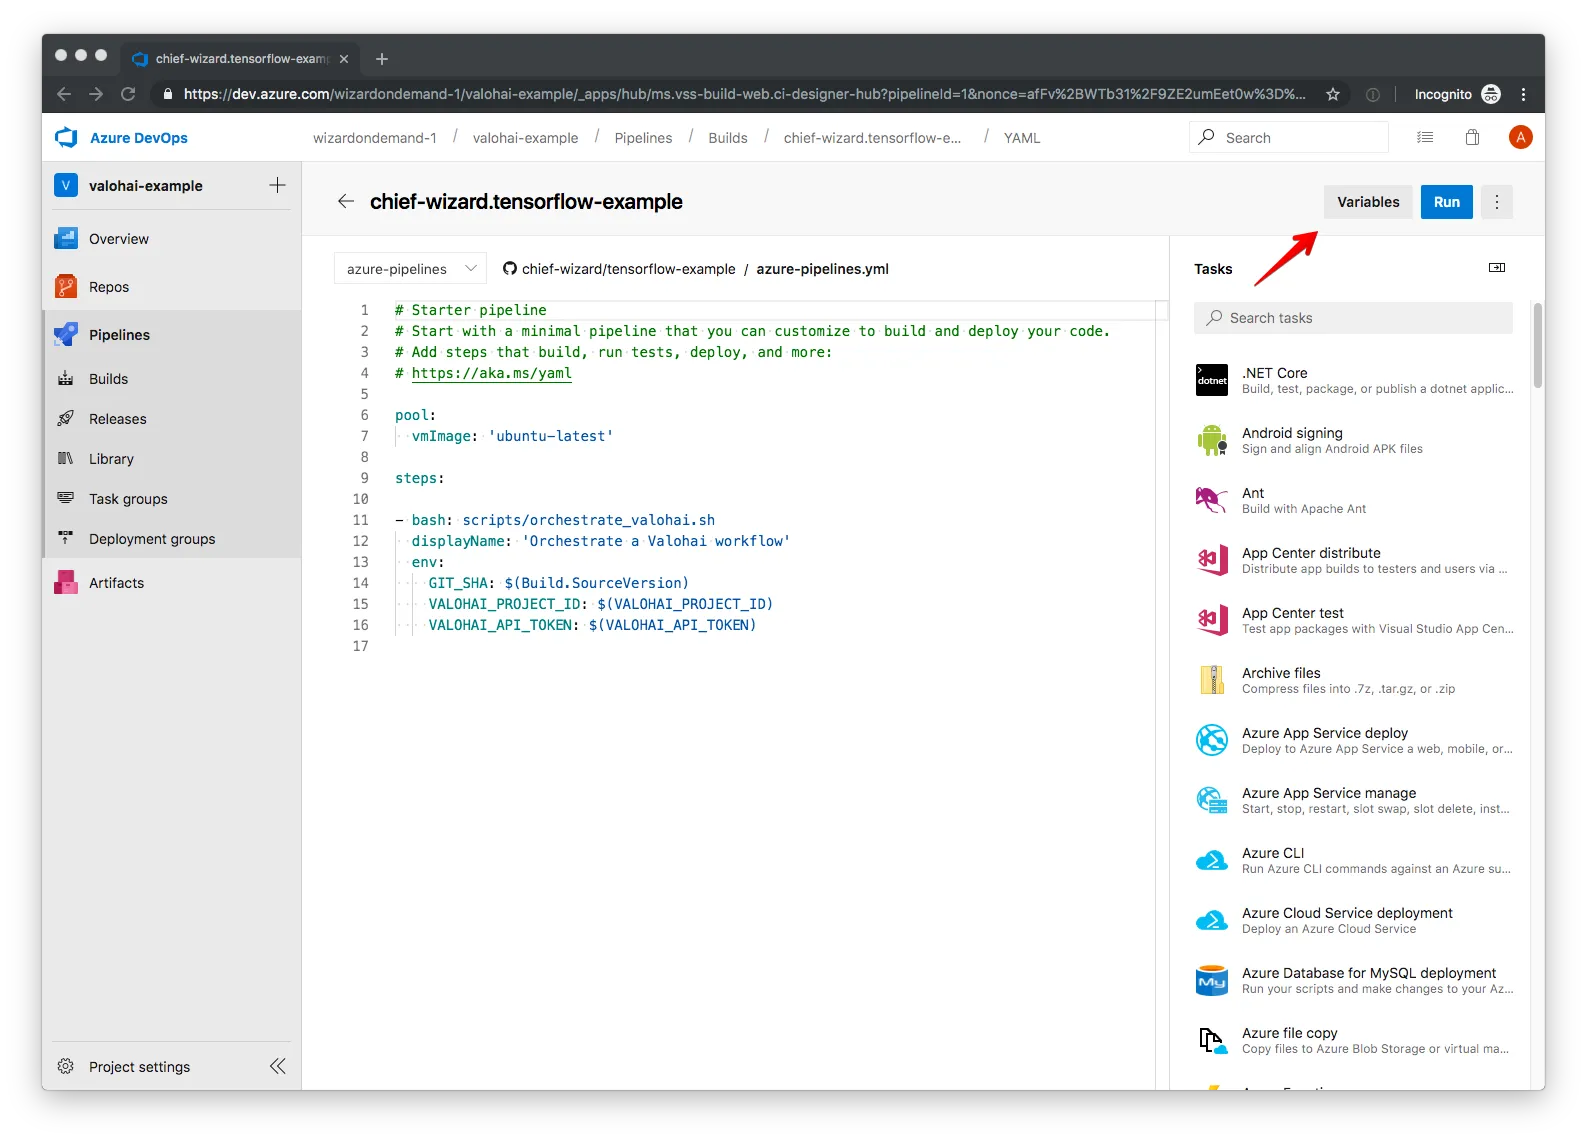
We then add a new variable:
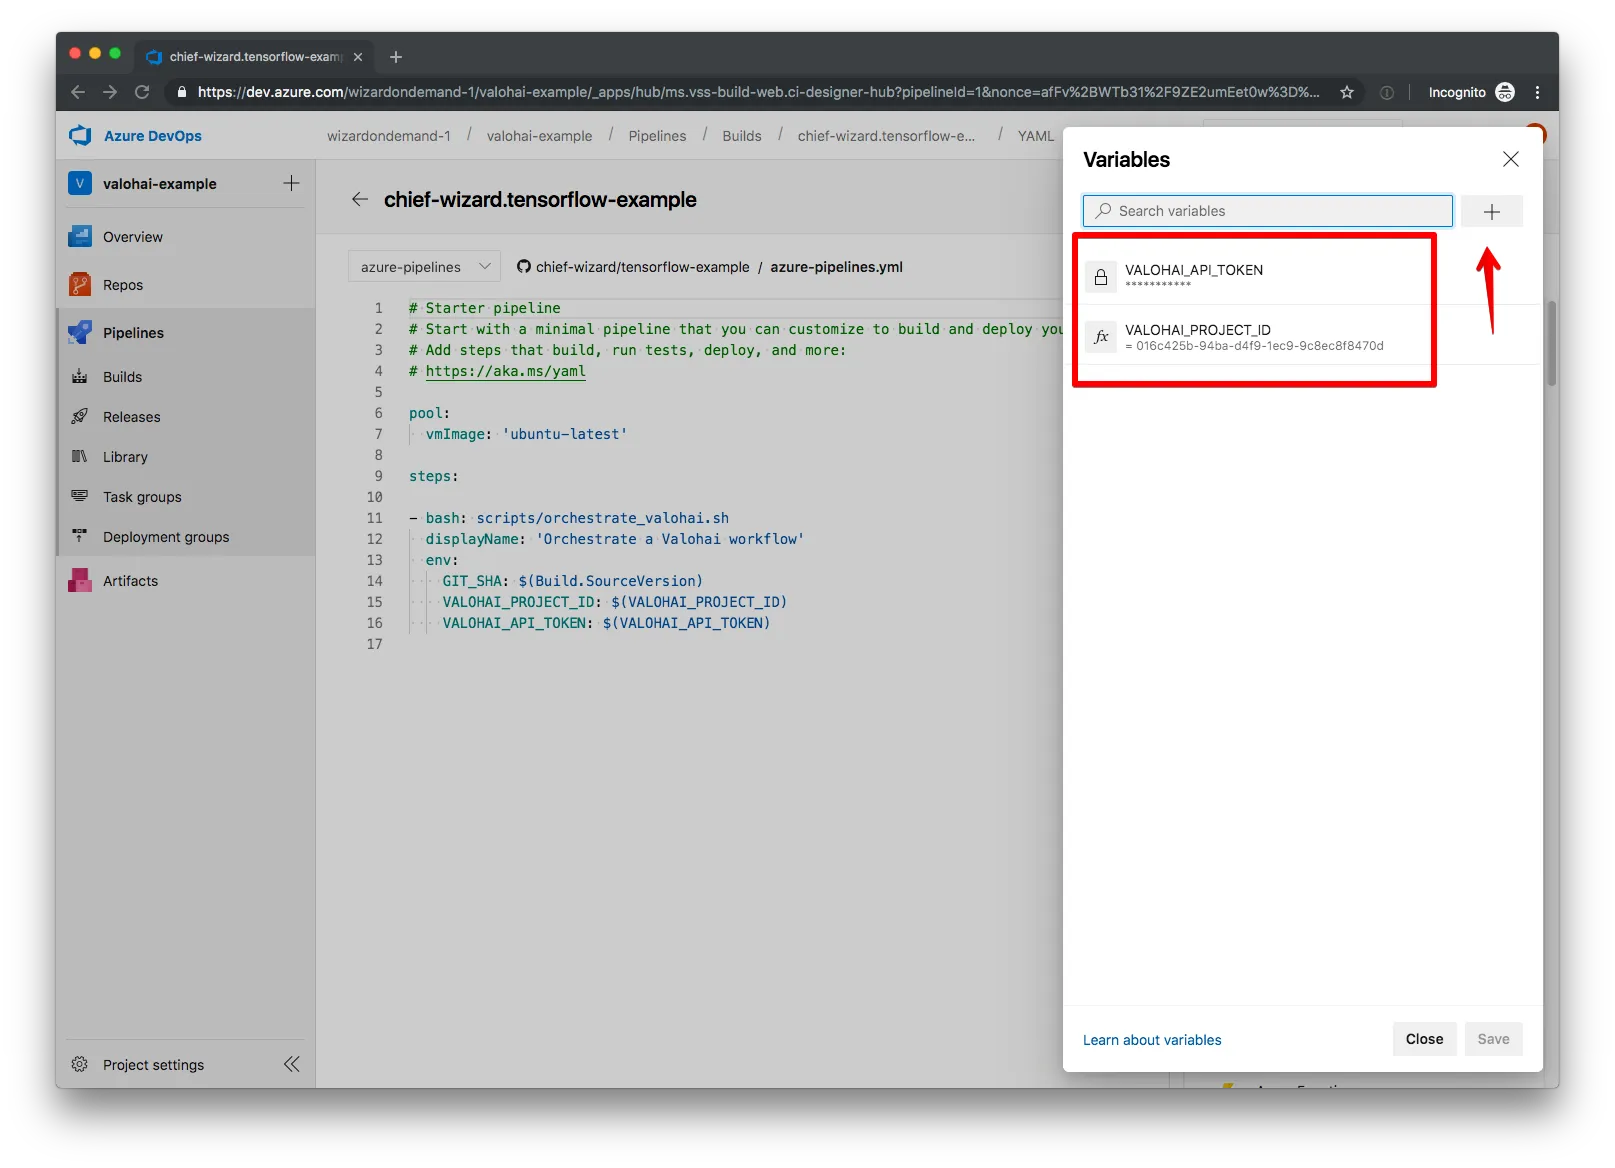
We want to keep our API token secret, so we check the “Keep this value secret” box when adding it to Azure Pipelines. On the other hand, our project ID is not all that secret, so we can leave that one unchecked.
 At this point we have everything we need to start calling the Valohai API and can proceed to the next step.
Calling the Valohai API from Azure Pipelines
When we created the Azure Pipelines configuration, we referred to a script named orchestrate_valohai.sh .
This is where we call the Valohai API to create a new execution whenever there is a push to the repository containing your machine-learning model.
Let’s look at what’s in the orchestrate_valohai.sh script.
We start by assigning more convenient names to the variables we pass into the script:
Before we can trigger an execution in Valohai, we need to make sure that Valohai has the most up-to-date version of our repository.
We do this by calling Valohai’s fetch API endpoint :
When creating a new execution via the executions/create Valohai API endpoint, we need to specify both the git SHA hash of the commit we want to use for the execution and the step in the machine-learning pipeline that we want to run. We generate the JSON that expresses this using a convenience function:
And now that we have that JSON, we can call the executions API correctly:
Done! Our orchestrate_valohai.sh script now creates a new execution in Valohai. Now that our script runs in Azure Pipelines on each push to the
git repository, we also create a Valohai execution whenever we push to git. Good work.
You can see the script’s contents on GitHub .
Waiting for a Valohai execution to finish and extracting the outputs
Once the execution is triggered, we need to wait for it to finish in order to get all its useful output.
The easiest way to achieve this is to check the status of the execution periodically via the Valohai API, specifically the executions-read endpoint .
For this status polling we create a new script, wait_for_valohai_execution.sh . The script receives an execution ID as its only parameter.
It starts with a convenience function for calling the Valohai API and then runs a simple loop polling the status of the execution ID every five seconds until the execution is finished:
You can find the full contents of the wait_for_valohai_execution.sh script in our GitHub repo.
Once the execution has finished, getting its outputs is quite straightforward.
We do it by passing the execution ID to the script as the only parameter, calling the same endpoint we did before ( executions-read ) to get the execution data, and using jq to print out the relevant fields from the response:
The response data contains all the details of the execution’s outputs:
For each output we can see its filename, size, creation date, and two ways to reference it: its Valohai ID and its Azure Blob Storage URL.
You can find the full version of the get_execution_outputs.sh script on GitHub .
Next steps in an optimal Azure Pipelines and Valohai workflow
So far we’ve set up a process that triggers a Valohai execution whenever there’s a push to your git repo, then waits for the execution to finish and gets its outputs.
With the output URLs in hand, we can do a few different things depending on our desired result:
- Trigger another Valohai execution using a different step in the machine-learning workflow, for example, the step that trains the machine-learning model, using the outputs we generated in the pre-processing step.
- Use the execution’s status on Valohai to determine the exit code of the Azure Pipelines step and thereby place the execution status as a required check on the GitHub pull request, which could also prevent pull requests with failing executions from being merged.
- Send the outputs to a different system, for example, on-premises data storage.
In addition, we can do things like measure how each model behaves after training, set up thresholds of accuracy for the model to be considered successful, and block GitHub pull requests if the accuracy of the model decreases significantly after it’s changed. It’s also possible to automate the deployment of the model if it passes the accuracy threshold.
Summary
In this article we walked you through creating a machine-learning workflow using Azure Pipelines and Valohai. While connecting the two systems requires setting up automation scripts, it’s worth the effort to use a specialized system like Valohai for running your machine-learning workflows: you get seamless orchestration in your machine-learning runs, a convenient way to extract outputs, and a system to organize the progress of your machine-learning work.
Learn more on the Valohai website and in the Valohai documentation .
You can find the full example that we use in this article in this GitHub repository .
Still have questions about setting up Valohai with Azure Pipelines? Send us a message by using the widget at the bottom right of this page—we’ll help you out.